4. Frontend classifieds functionality
There are several ways to access the ad functionality in the frontend. You do that by creating several menu items or using one of the available modules.
4.1. Creating menu items
We have created several menu item types you can use in setting up your classifieds website.
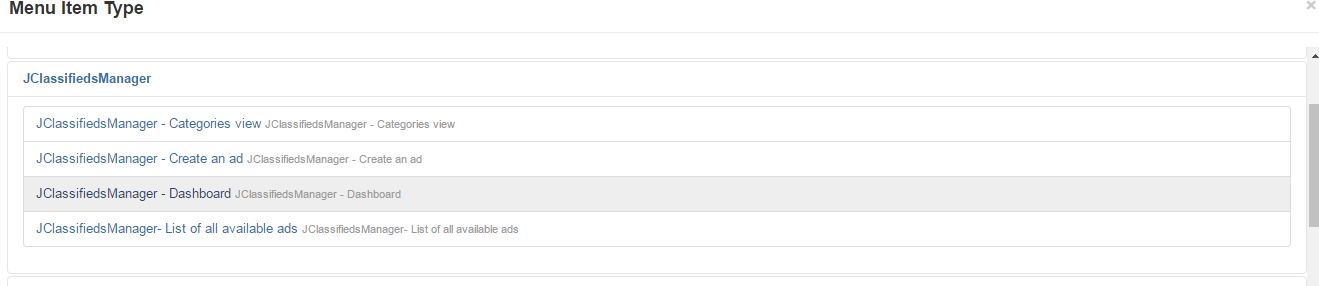
Following menu item types are available:
- Create ad –allows you to create a menu item that point to the ad creation page.
- List Categories - aallows you to create a menu item that displays all available categories.
- Dashboard - allows you to create a menu item that displays the user dashboard.
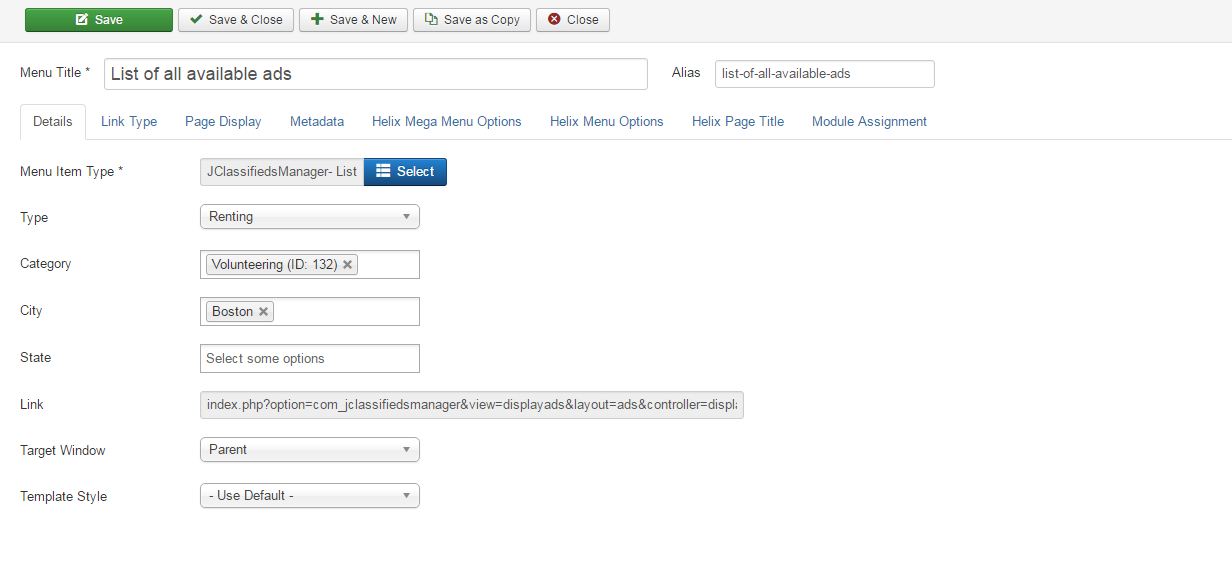
- List of all available ads - allows you to create a menu item that displays all available ads filtering them based on ad type, category , city and state.
4.2. J-ClassifiedsManager Modules
4.2.1. J-ClassifiedsSearch module.
The J-ClassifiedsSearch module is installed along with the component. It displays in the frontend as presented below.

The J-ClassifiedsSearch module allows you search for an existing ad. You can enter the whole or part of the ad title or description. You can filter by using the several parameters which you can set in the Module settings. To access the module settings log in into your Joomla backend and in the main menu go to Extensions->Modules->Select J-ClassifiedsSearch module. You be presented with a list of option as presented below:
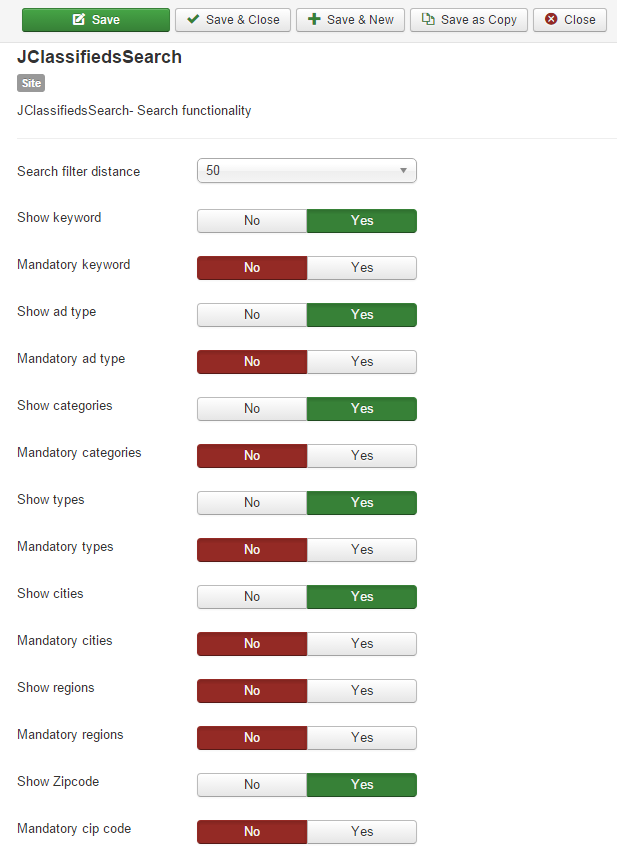
You can show/hide a filter option in the frontend by setting the Show option to yes/no. You can also make an option mandatory in the frontend by setting the Mandatory option to yes/no. Having a filter option mandatory will restrict the user to select a filter option in the frontend.
Following parameters can be set.
- Search Filter Distance - set a default search distance when using the zip code search.
- Keyword – you can search classifieds by a keyword. If a phrase is used as keyword the search will be performed by the entire keyword and not by the keywords in the phrase.
- Categories – you can filter classifieds by a category. A list with all the available categories will be available for filtering.
- Ad types - you can filter classifieds by a type. All the available ad types will be available for selection.
- Region – you can filter by all available regions (states) set for location in the existing classifieds.
- Cities – you can filter by all the available set for location in the existing classifieds.
4.2.1.1. Zip code search
You can search by zip code within a desired radius. To do that, in the frontend click on the zip icon and you get the following screen where you can choose your distance. You can also filter by your current location when enabling the Geo Location:

4.2.2. Latest ads module
The latest ads module displays the latest classifieds published on your classifieds website. You can also use this module to display featured classifieds only. To access the module settings log in into your Joomla backend and in the main menu go to Extensions->Modules->Select J-ClassifiedsManager - Latest Ads.
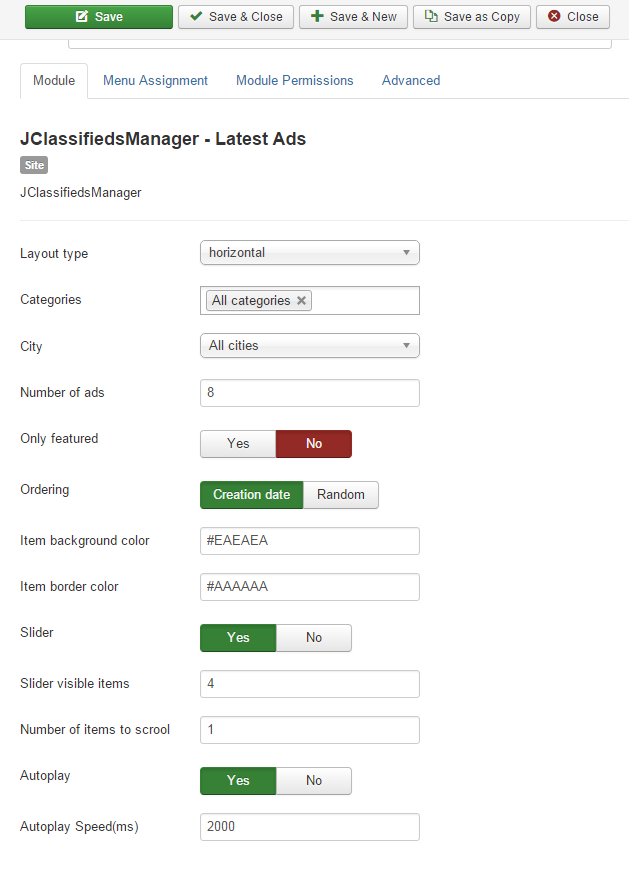
- Layout type: type of layout to display the module: vertical or horizontal
- Categories: you can filter the latest ads by certain categories. You can choose one or multiple values.
- City: You can filter by a city when displaying the latest ads.
- Number of ads: number of ads to display in the module.
- Only featured: you can choose to display only featured ads by setting the option to yes.
- Ordering: type of ordering to be used. You can currently order by the creation date or random.
- Item background color: the color used to display the background for an ad.
- Item border color: the color of the border for an ad in the module
- Slider: enable the ads in the module to be rendered as a slider.
- Slider Items: when the slider option is set to yes you can define a number of items to display in the slider.
- Number of items to scroll: you can set how many items to scroll at once.
- Autoplay: when set to autoplay the slider items will scroll automatically.
- Autoplay speed(ms): the time in milliseconds between 2 slider items.
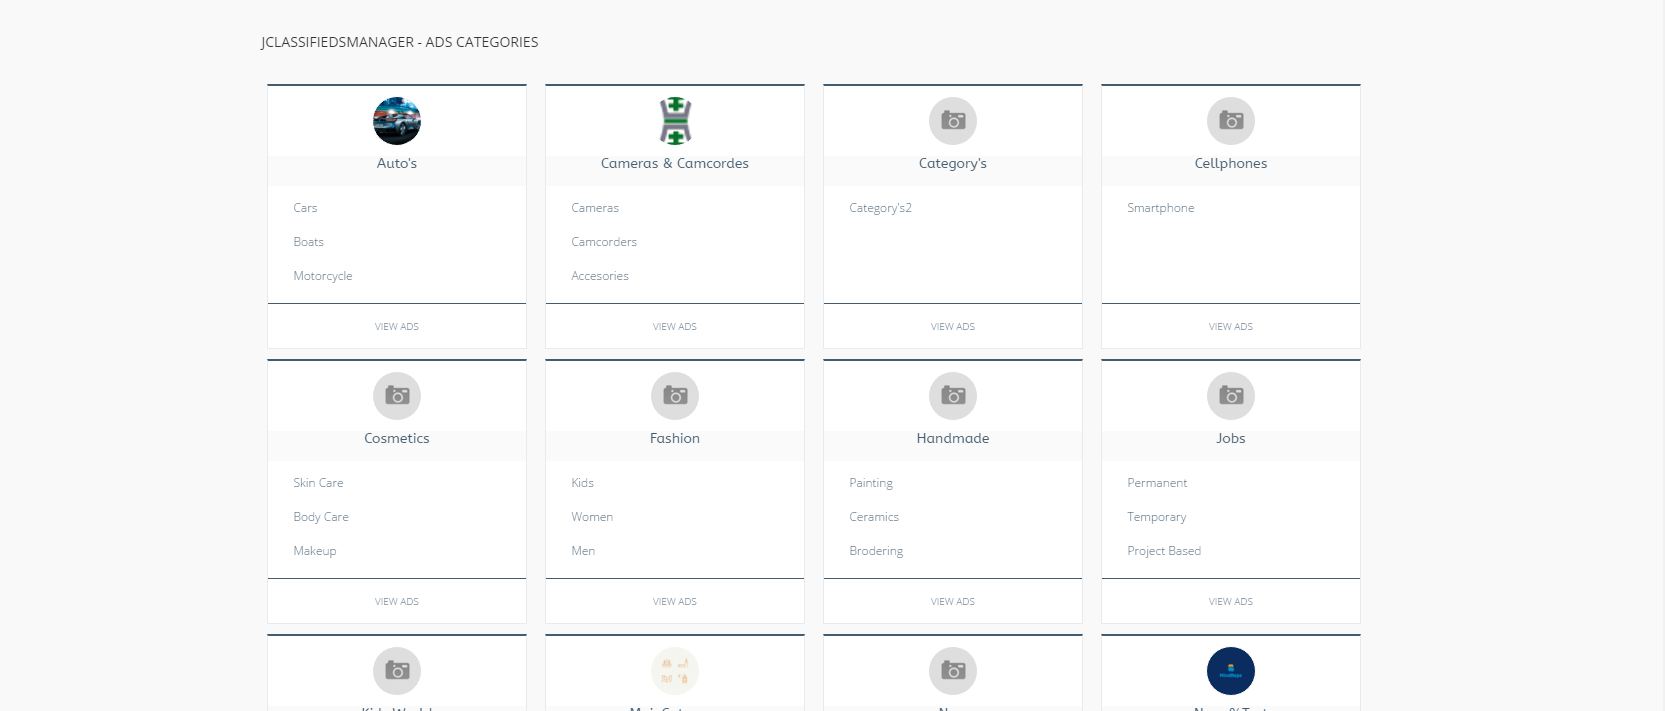
4.2.3. Ad categories module
The J-ClassifiedsManager displays a list with all the available main categories and subcategories. Currently only two levels are displayed, the main categories and their subcategories. Clicking on a category will display all the ads available for that specific category. To access the module settings log in into your Joomla backend and in the main menu go to Extensions->Modules->Select JClassifiedsManager - Ads Categories.
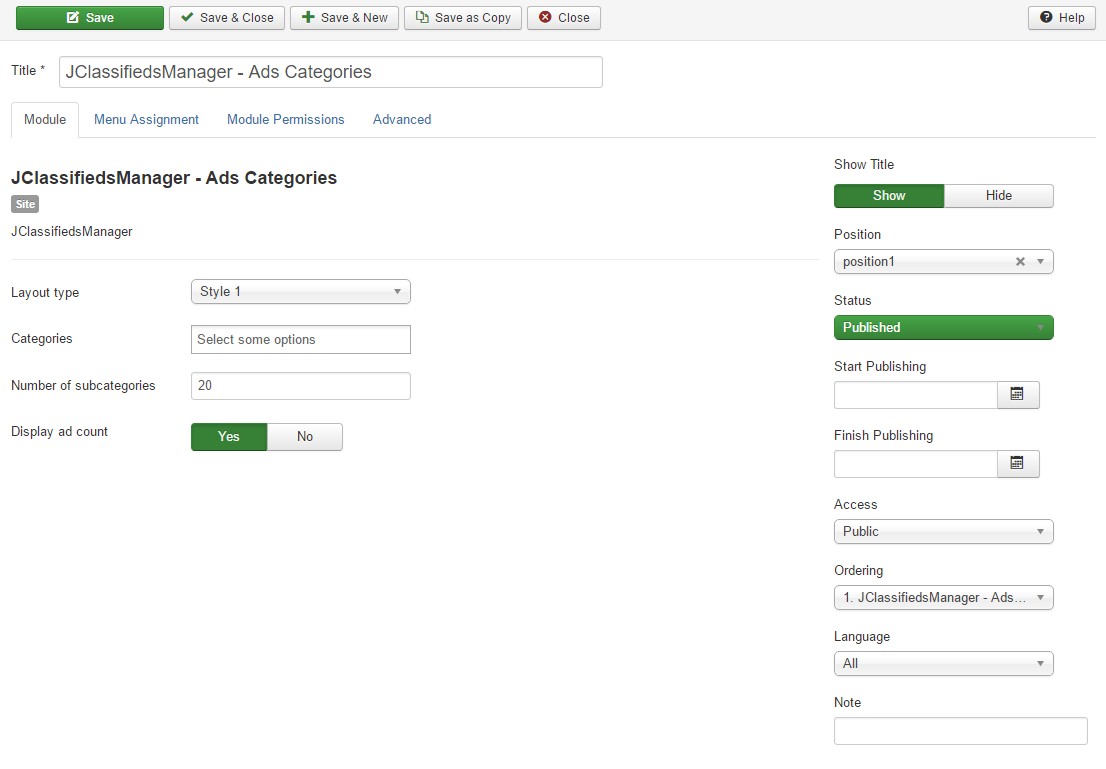
- Layout type : You can choose between two layouts
- Categories : Choose the main categories you want to show on the frontend
- Number of subcategories : Choose the number of subcategories to show below a main category
- Display ad count : Enables the ad count for each category or subcategory
4.2.4. Ad admin module
Shows a section in Joomla’s Control Panel with quick links towards the major functionalities in J-Classifieds Manager. The modules is automatically installed when the extension is installed.

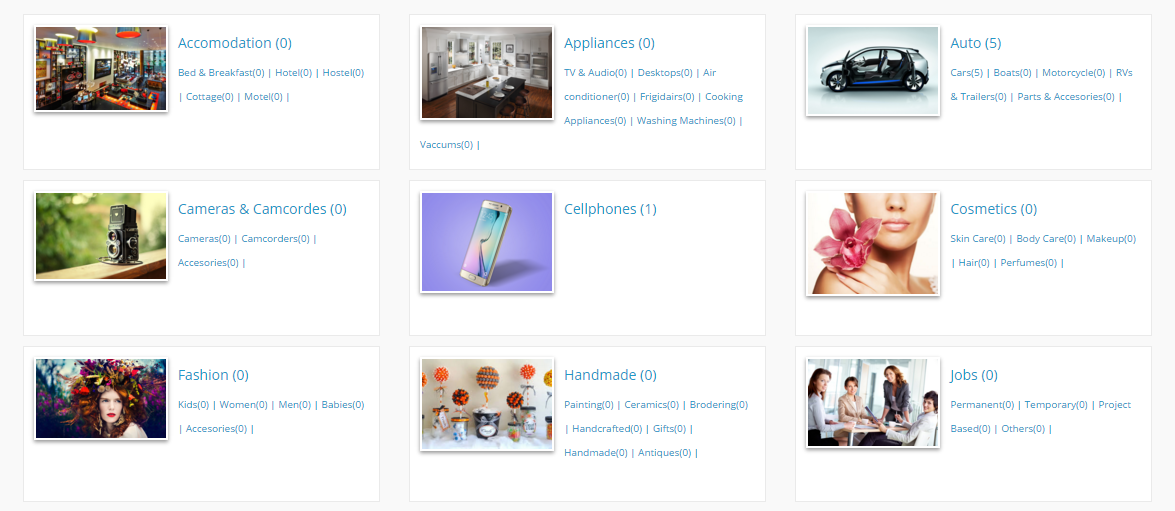
4.3. The categories view
You can now display a view with all the main categories you have enabled on your classifieds manager. When creating a new menu item, choose the Category view type. You’ll be presented with following options

You can enable the subcategories to be displayed by setting the Show subcategories option to Yes. You can also enable the ad count to be displayed for each and every category.
The following screen will be generated in the frontend.
4.4. Classifieds display screen
The list of classifieds enables you to view existing classifieds within a certain ad type category, filtered by certain parameters available in the modules or menu items as presented the above sections. On classifieds list screen (presented below) you can filter by several options.
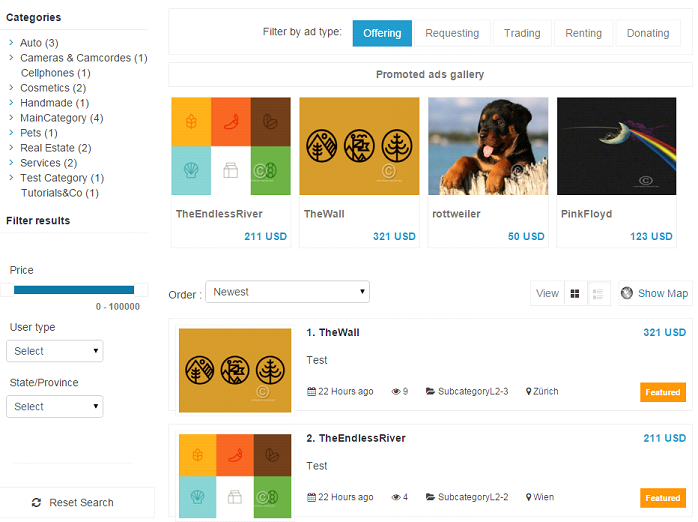
On the left side of the screen one can filter ads based on category, category attributes, price, user type or state/province. Categories are currently organized on 3 levels and can be drilled down by using the sign located on the left of the category name.
Clicking on a category will display the ads for the selected category. The category attributes will also be rendered and will be available for filtering in the Filter results tab. Further the user can order ads by the newest, cheapest or the most expensive. On the section “Promoted ads gallery” there are all the ads promoted displaying.
You can also display a map by clicking on the Show Map button located at the top of the ad display
4.5. Viewing an ad
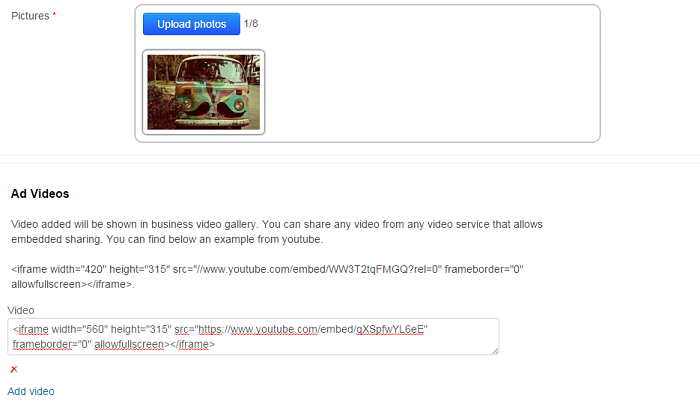
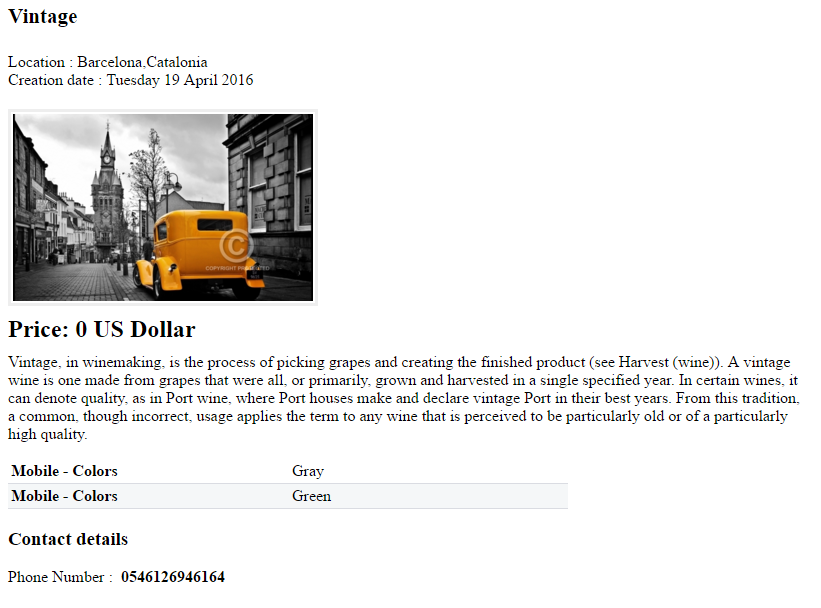
Clicking on an ad image or title would render a user to view the corresponding ad details. Here the user can view the images set for the ad, along with all the descriptions and attributes. Please see below.
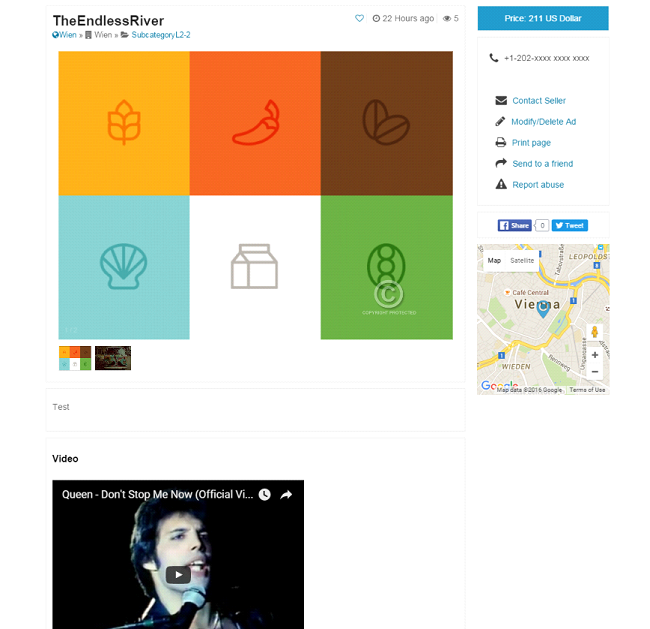
You have at your disposal a series of actions as presented below.
4.5.1. Modify/Delete add
You can modify an ad from the ad details view as long as the ad belongs to you. You are required to login in order to do that. You’ll be presented with the screen below.
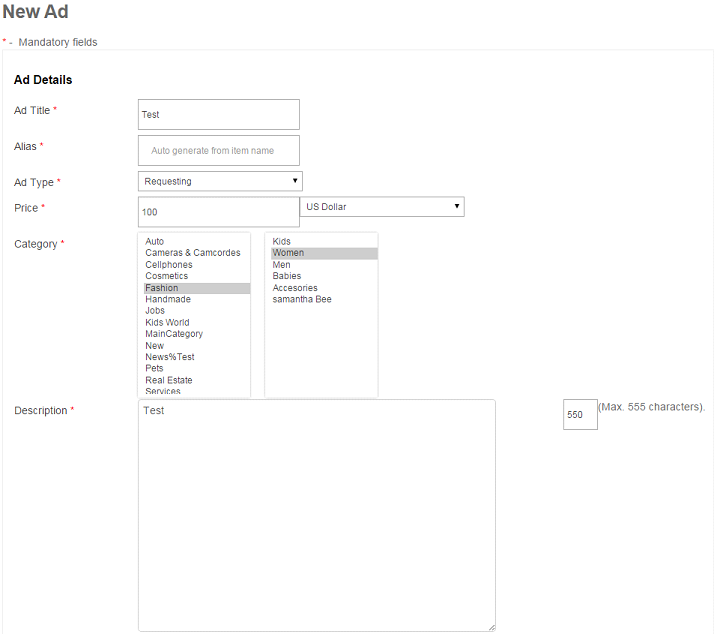
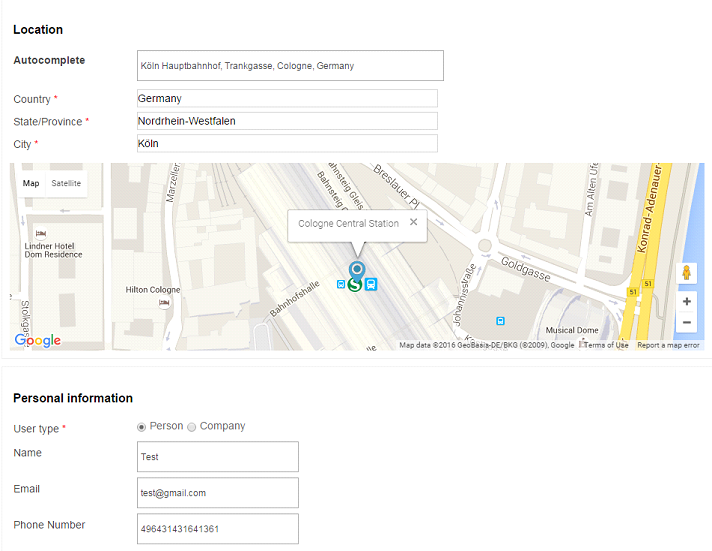
When editing an ad all your ad information will be pre populated. You can do the desired changes. Don’t forget to save.
4.6. Print Page
You can print an ad by clicking the Print button located on the bottom right of the screen when viewing an ad. The following screen is displayed and can be printed.
4.7. Send to a friend
You can refer an ad that you find interesting to a friend. Simply click the Send to a friend link located on the right top corner when viewing and ad. You’ll be asked to input your friend’s email along with a message. Click the Send Email button to notify your friend.

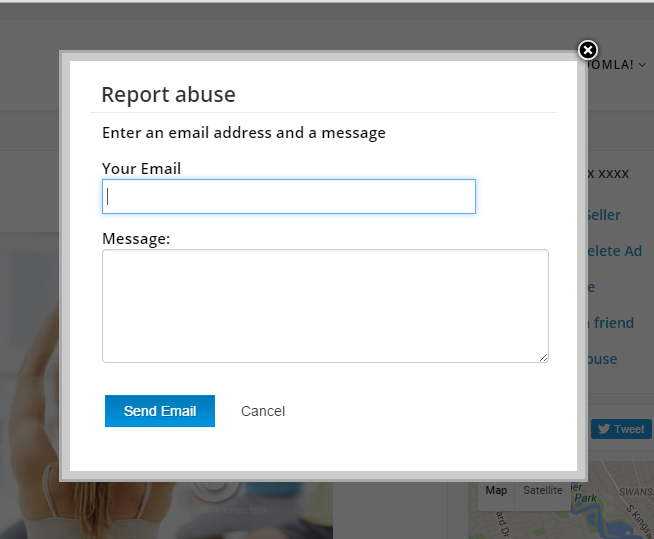
4.8. Report abuse
You can report an ad as an abuse if somebody has posted an ad with your details or wrong information. Simply click the Report Abuse link located on the right top corner when viewing and ad. You’ll be asked to input your email along with a message. Click the Send Email button to report an abuse.
4.9. Frontend Control panel
You can access your listings& additional data at any time by logging into your account and accessing the J-ClassifiedsManager Control Panel. The Control Panel is accessible through a menu item that has to be created via backend. To create the Control Panel menu item go to Backend->Menus-> Select the desired menu->Click the New button. As a menu item type select the Control Panel under the J-ClassifiedsManager item.
4.9.1. My ads
You can access a list the ads you’ve created on the classifieds manager in the My Ads section. . You’ll be presented with the summary screen below.
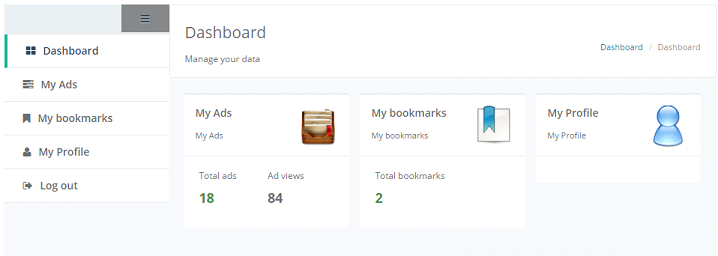
On Dashboard the user can access the ads list created by him, bookmarks or have a look on his profile. The user can also access this sections from the menu. When the user clicks on My Ads on Dashboard or from the menu, he will be present with the screen below:
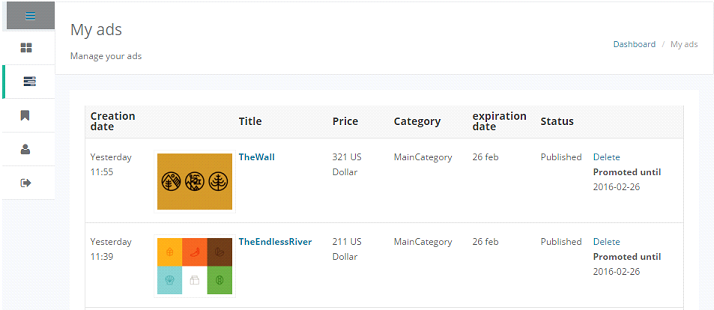
To modify an ad simply click on the ad name or the ad image or title.
When editing an ad all your ad information will be pre populated. You can do the desired changes. Don’t forget to save.
4.10. Deleting an ad
To delete an ad simply click on the Delete icon while located in the My Ads view. You’ll be presented with a confirmation to delete the ad.
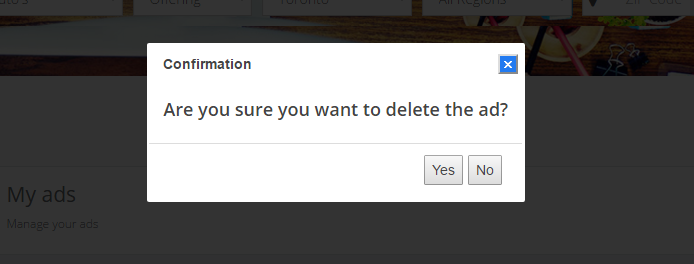
To delete the click the Yes button otherwise click the No button.
4.11. Promoting an ad
You can promote an ad either when you create an ad or when in the My Ads section in the Control panel. To promote an ad click on the promote button

located on the very right of each ad. Promoting an ad will display the ad in the ad gallery section on top of the list of the ads.
When promoting an ad the following screen is displayed:
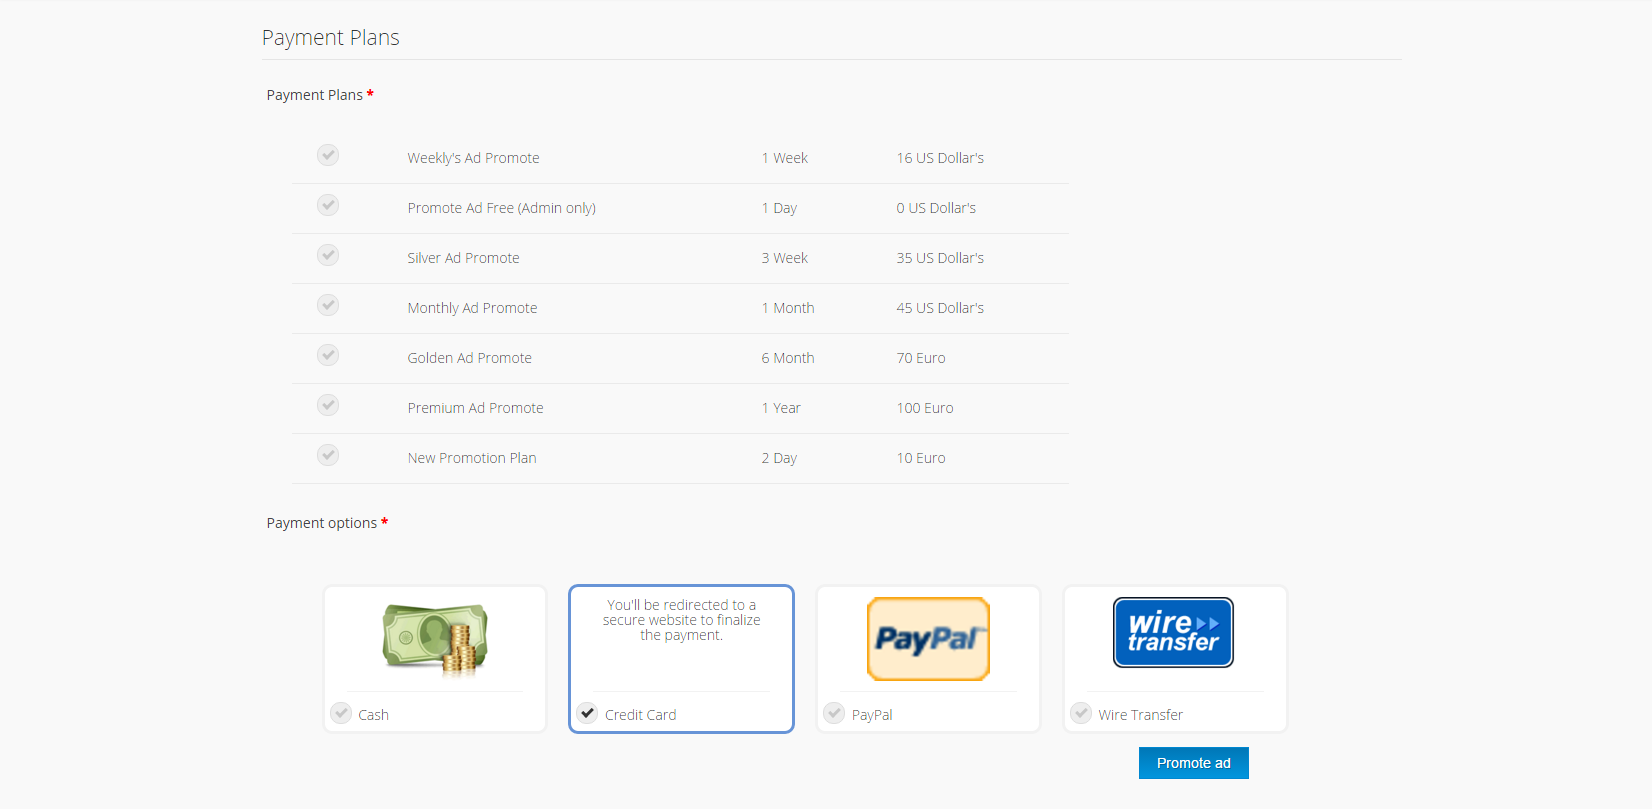
You can choose a payment plan along with a payment method. Based on the chosen payment method you’ll be asked to complete certain steps to finalize the payment. If the payment is pending a red message will display below promotion button.
You can renew an ad and choose the plan that you want. The renewal of an ad can be done from the button
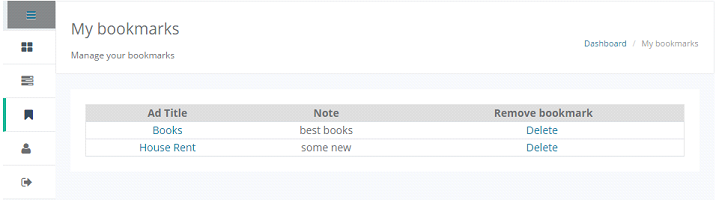
4.12. My bookmarks
You can manage your existing bookmarks in the My Bookmarks section. Here you can see a list of existing bookmarks, which you can manage as you please. You can go straight to the ad you’ve bookmarked or you can choose to delete your bookmark by pressing the Delete link at the very end of each bookmark.